How to Create and Immediately Trigger an Auto-Expanding Archive in Microsoft 365
Sign in to the Microsoft Purview portal.
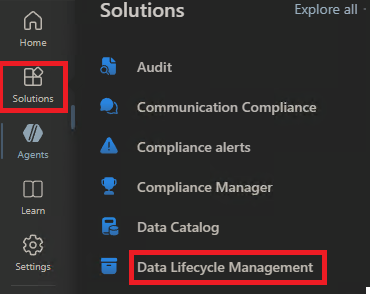
- In the left-hand menu, go to Solutions and select Data Lifecycle Management.
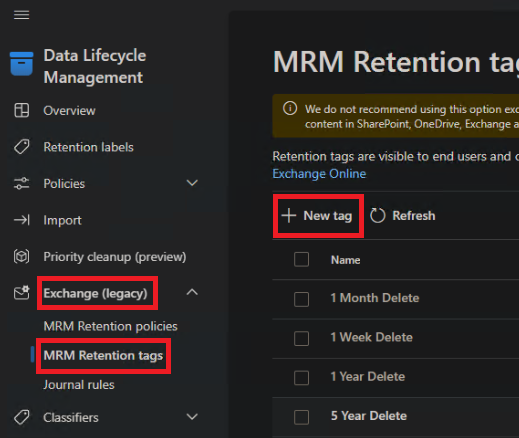
- Navigate to Exchange (Legacy) → MRM Retention Tags.
- Click New Tag.
Create the Retention Tag:
- Give the tag a clear, descriptive name.

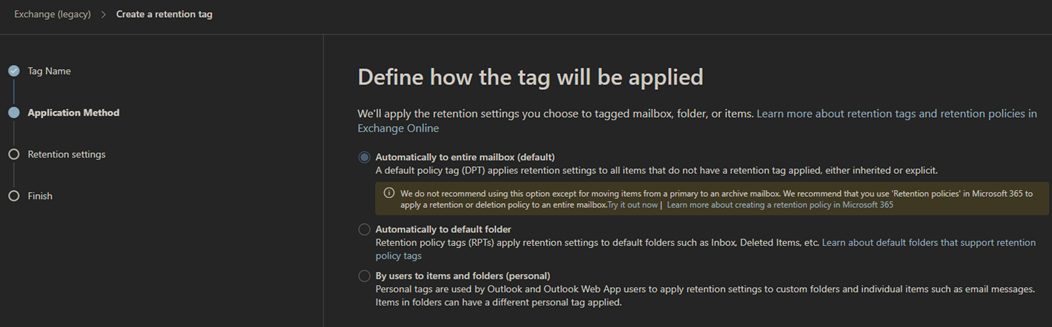
Choose how the tag will be applied:
- Select Automatically apply to the entire mailbox and click Next.
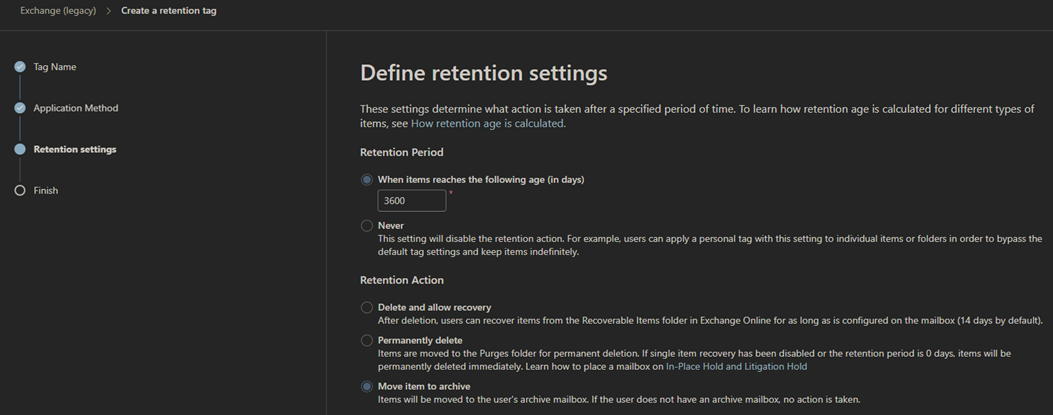
Define the retention settings:
- Specify the number of days before items are archived.
- Set the Retention Action to Move items to archive.
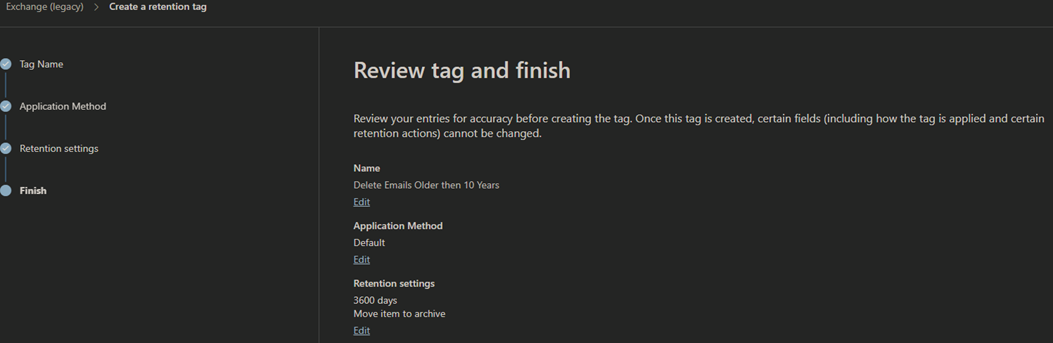
Review your settings and click Create to save the tag.
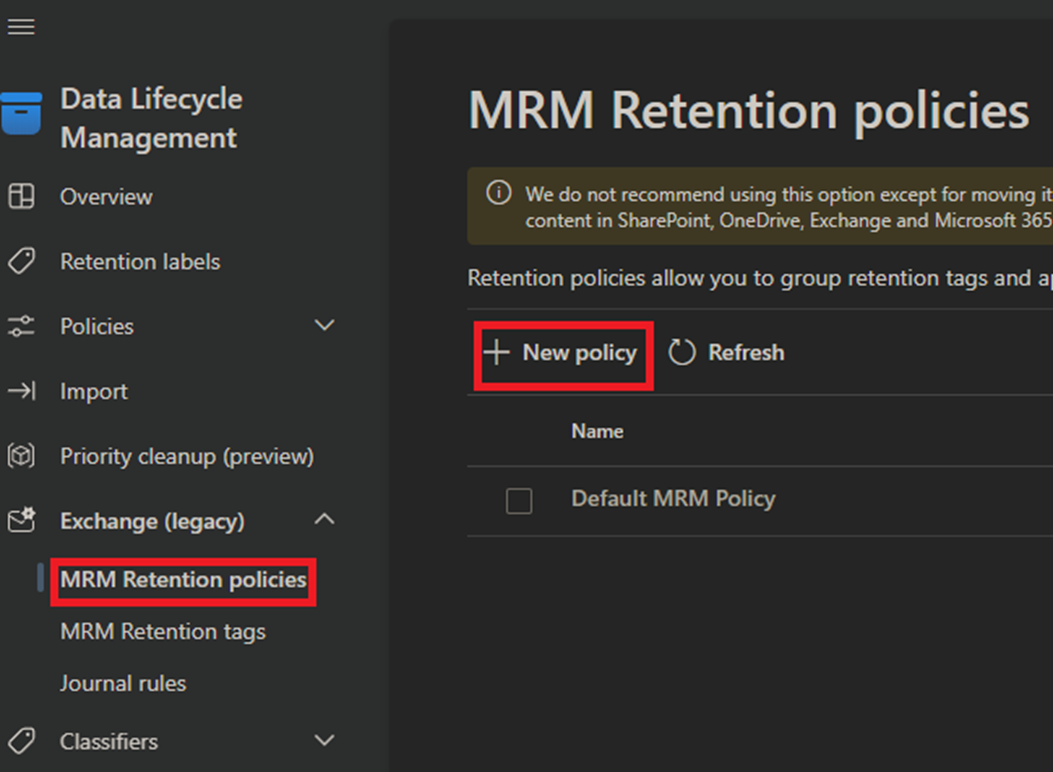
Creating a Retention Policy
Go to Exchange(legacy) - MRM Retention Policies and click New Policy.
Enter a descriptive name for the policy.
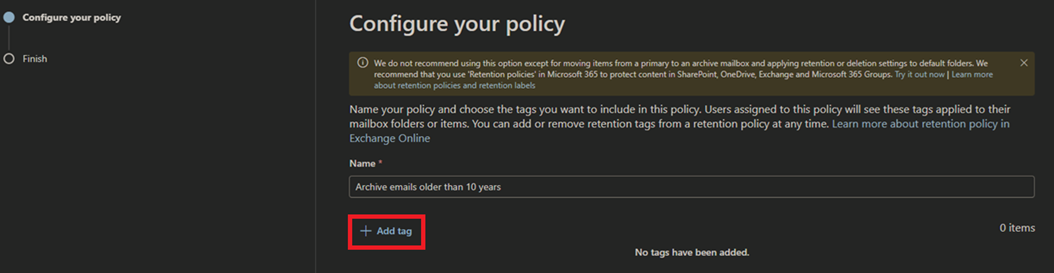
Press +Add Tag
Select the newly create tag from the list of tags
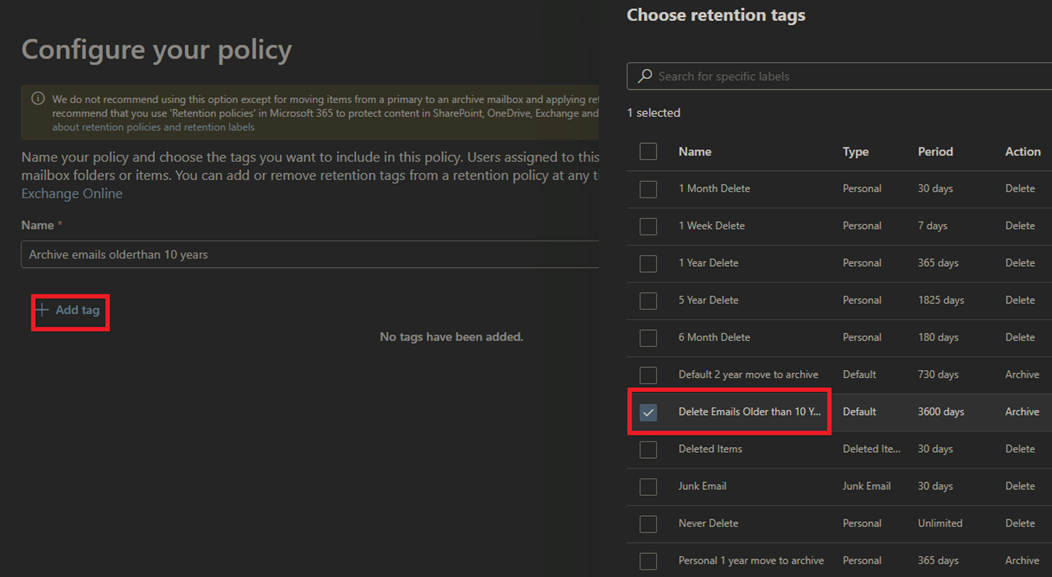
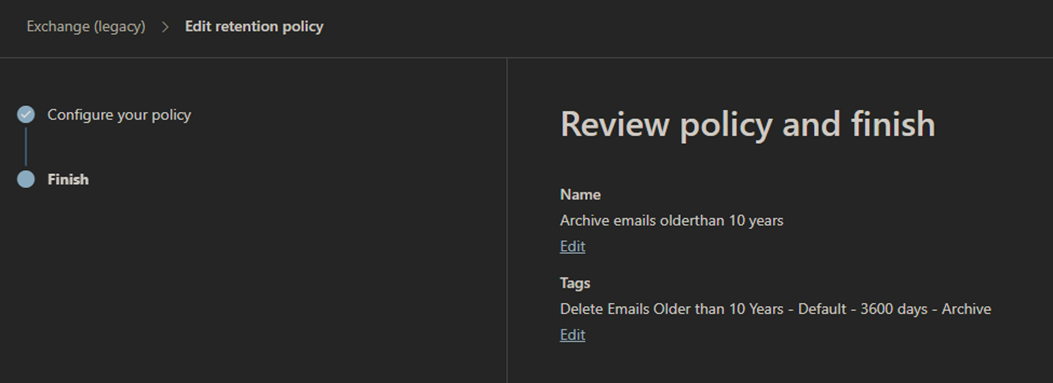
Review the policy and submit.
Next go to Exchange Admin Center
Go to Mailboxes - select the user you would like to apply the new policy
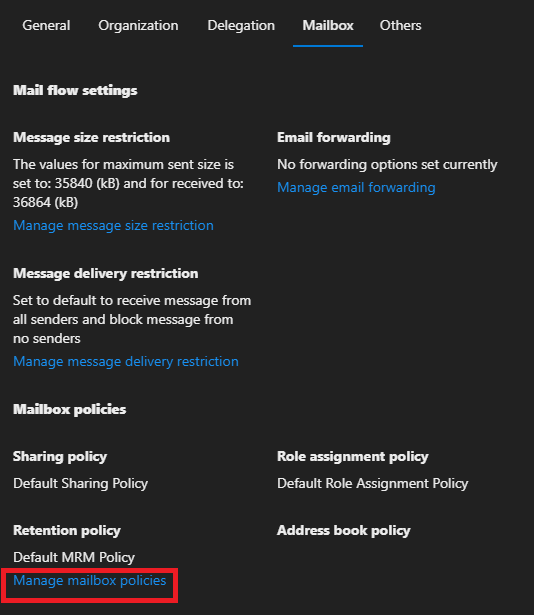
Go to Mailbox in the User Settings
Press Manage Mailbox Policies under Retention Policy
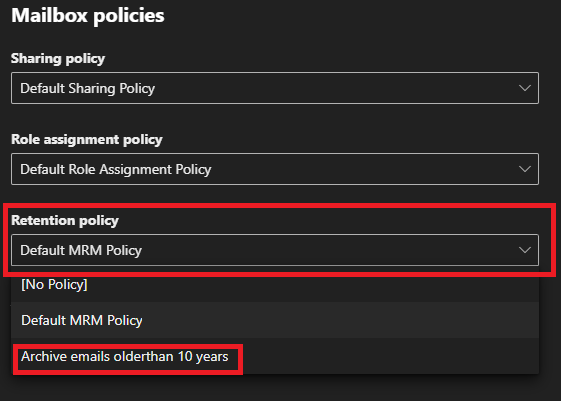
Select the newly created tag under Retention Policy and Save.
Next open powershell as administrator
Run the command to connect to exchange online
Connect-ExchangeOnline -UserPrincipalName [email protected]Enable the archive mailbox (if it’s not already enabled)
Enable-Mailbox -Identity [email protected] -ArchiveEnable auto-expanding archive (optional, if you want more space than the standard archive)
Enable-Mailbox -Identity [email protected] -AutoExpandingArchiveForce the archive process to start immediately
Start-ManagedFolderAssistant -Identity [email protected]